

How Do You Convert A Drawing From Corel Draw To G-code
Almost images that you find online (JPGs, PNGs, GIFs) are in raster format. This means that the images incorporate a number of pixels that become increasingly obvious as y'all raise the size of your image.
Vector images practise not have this issue. A vector prototype will have the aforementioned quality no matter the size. Thus, if you need a good quality image in different sizes, you need to understand vector graphics.
At that place are many programs that allow you to depict or convert images to vector images, and CorelDRAW is one of them.
How to Convert a Raster Image to Vector in CorelDRAW
The vectorization process in CorelDRAW is quick and easy. The software offers born features that allow you to trace an image with just a couple of clicks. This lets you turn even the most problematic raster pictures to clear vectorized images.
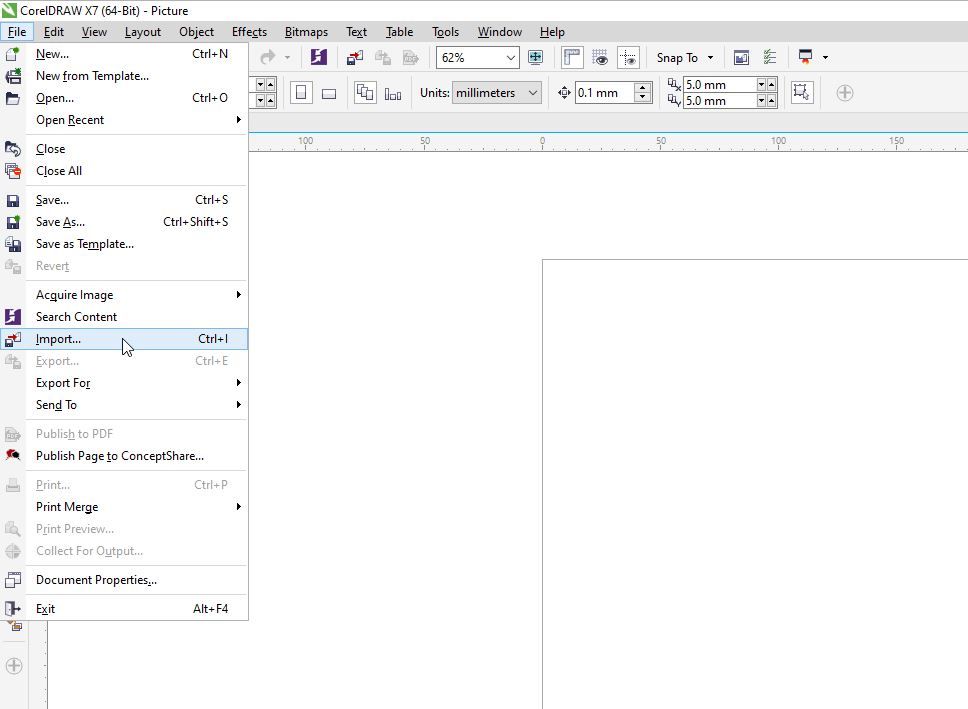
To go started, you first need to import your image by heading to File > Import, or pressing Ctrl + I on your keyboard. This volition make a pocket-sized window pop upwards, where you tin choose the epitome that you wish to import.
Now, let'southward go over the various ways you lot tin trace an prototype.
Quick Trace
The easiest way to vectorize an prototype in CorelDRAW is to simply click on Trace Bitmap from the dropdown in the toolbar, and then select Quick Trace.
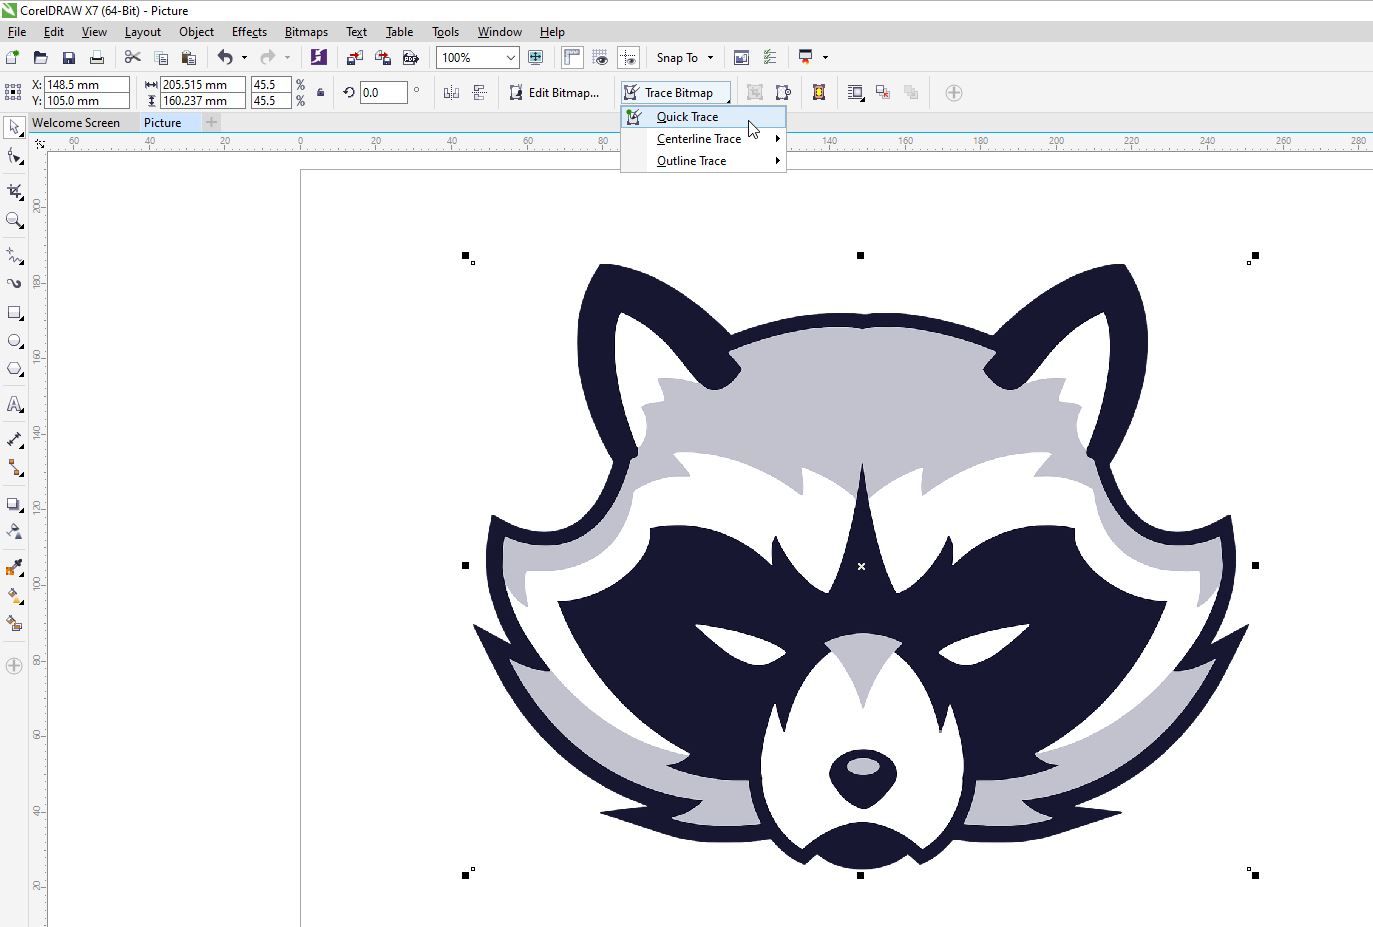
Quick Trace will vectorize your image in the simplest way possible. This is user-friendly for pictures without a lot of particular, but it's not the best option for more than complex images.
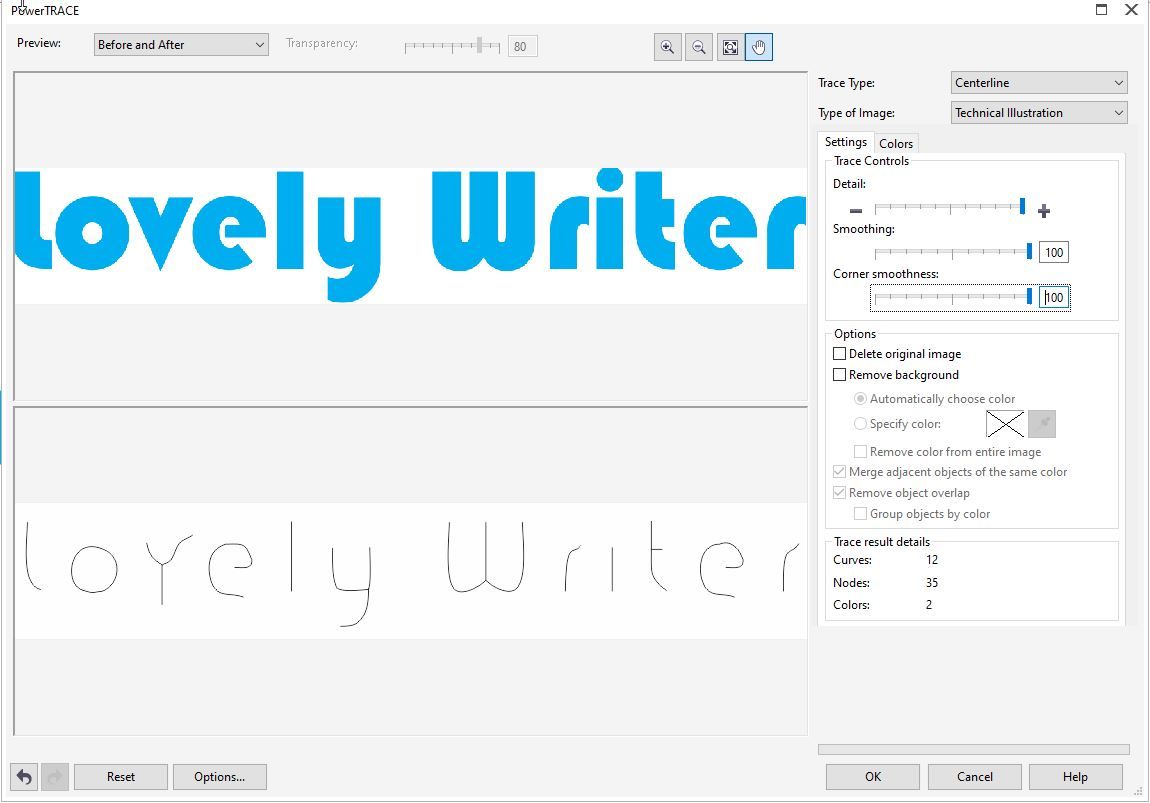
Centerline Trace
This method uses unfilled open and closed curves, making it a good pick for tracing maps, line drawings, technical illusions, and signatures.
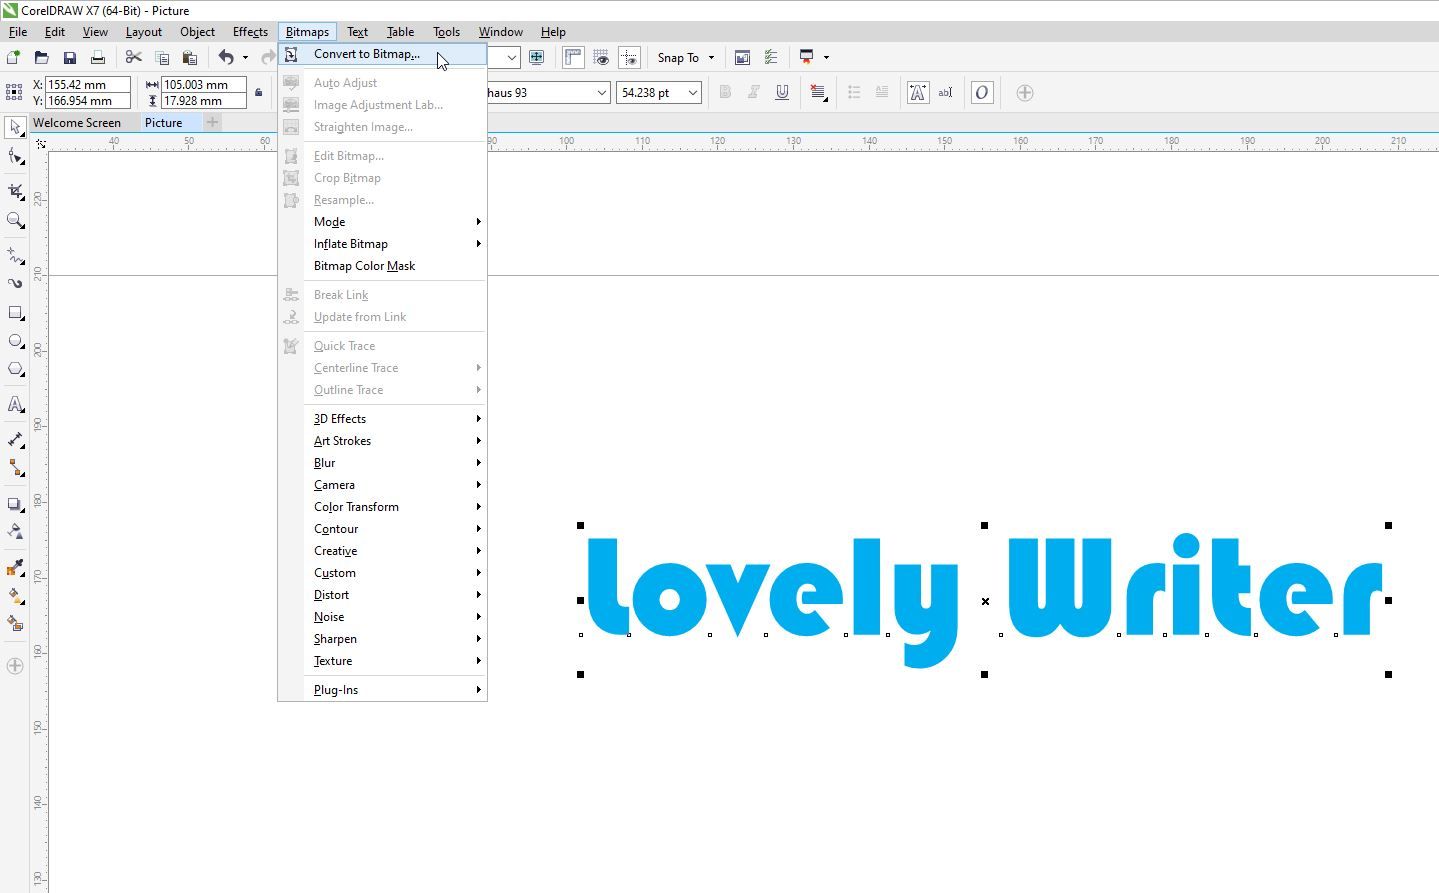
To trace text, you'll have to convert the text to bitmap first. You tin do this by selecting the text, and and so clicking on Bitmap > Convert to Bitmap.
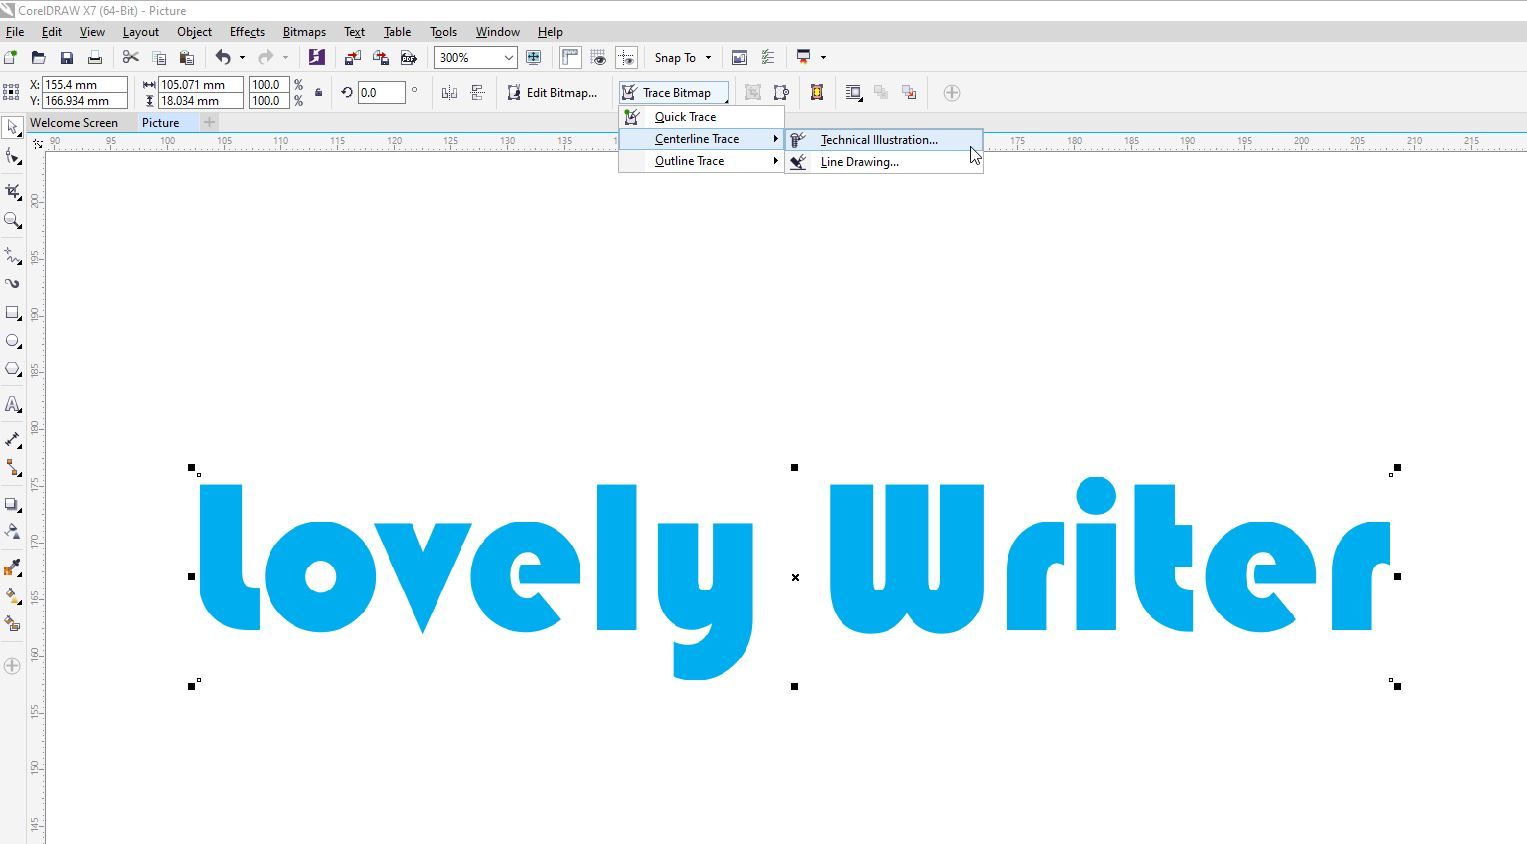
Afterward that, become to Trace Bitmap > Centerline Trace. In the next bill of fare, you lot'll see two options: Technical Analogy and Line Trace. The Technical Illustration selection volition offering a sketch with thin lines, while the Line Drawing selection offers a sketch with more prominent lines.
Here, we chose Technical Illustration.
In the new window that pops upwards, you tin adjust the details of your trace, and you lot can come across the results equally you lot edit them.
Outline Trace
Outline Trace works for both simple images and detailed photographs. Information technology offers quite a few different tracing options.

Although each option in Outline Trace has its purpose, y'all can use them on whatsoever bitmap image you import. Here are all the Outline Trace options you lot have in CorelDRAW together, and how they react to a high-res photo:
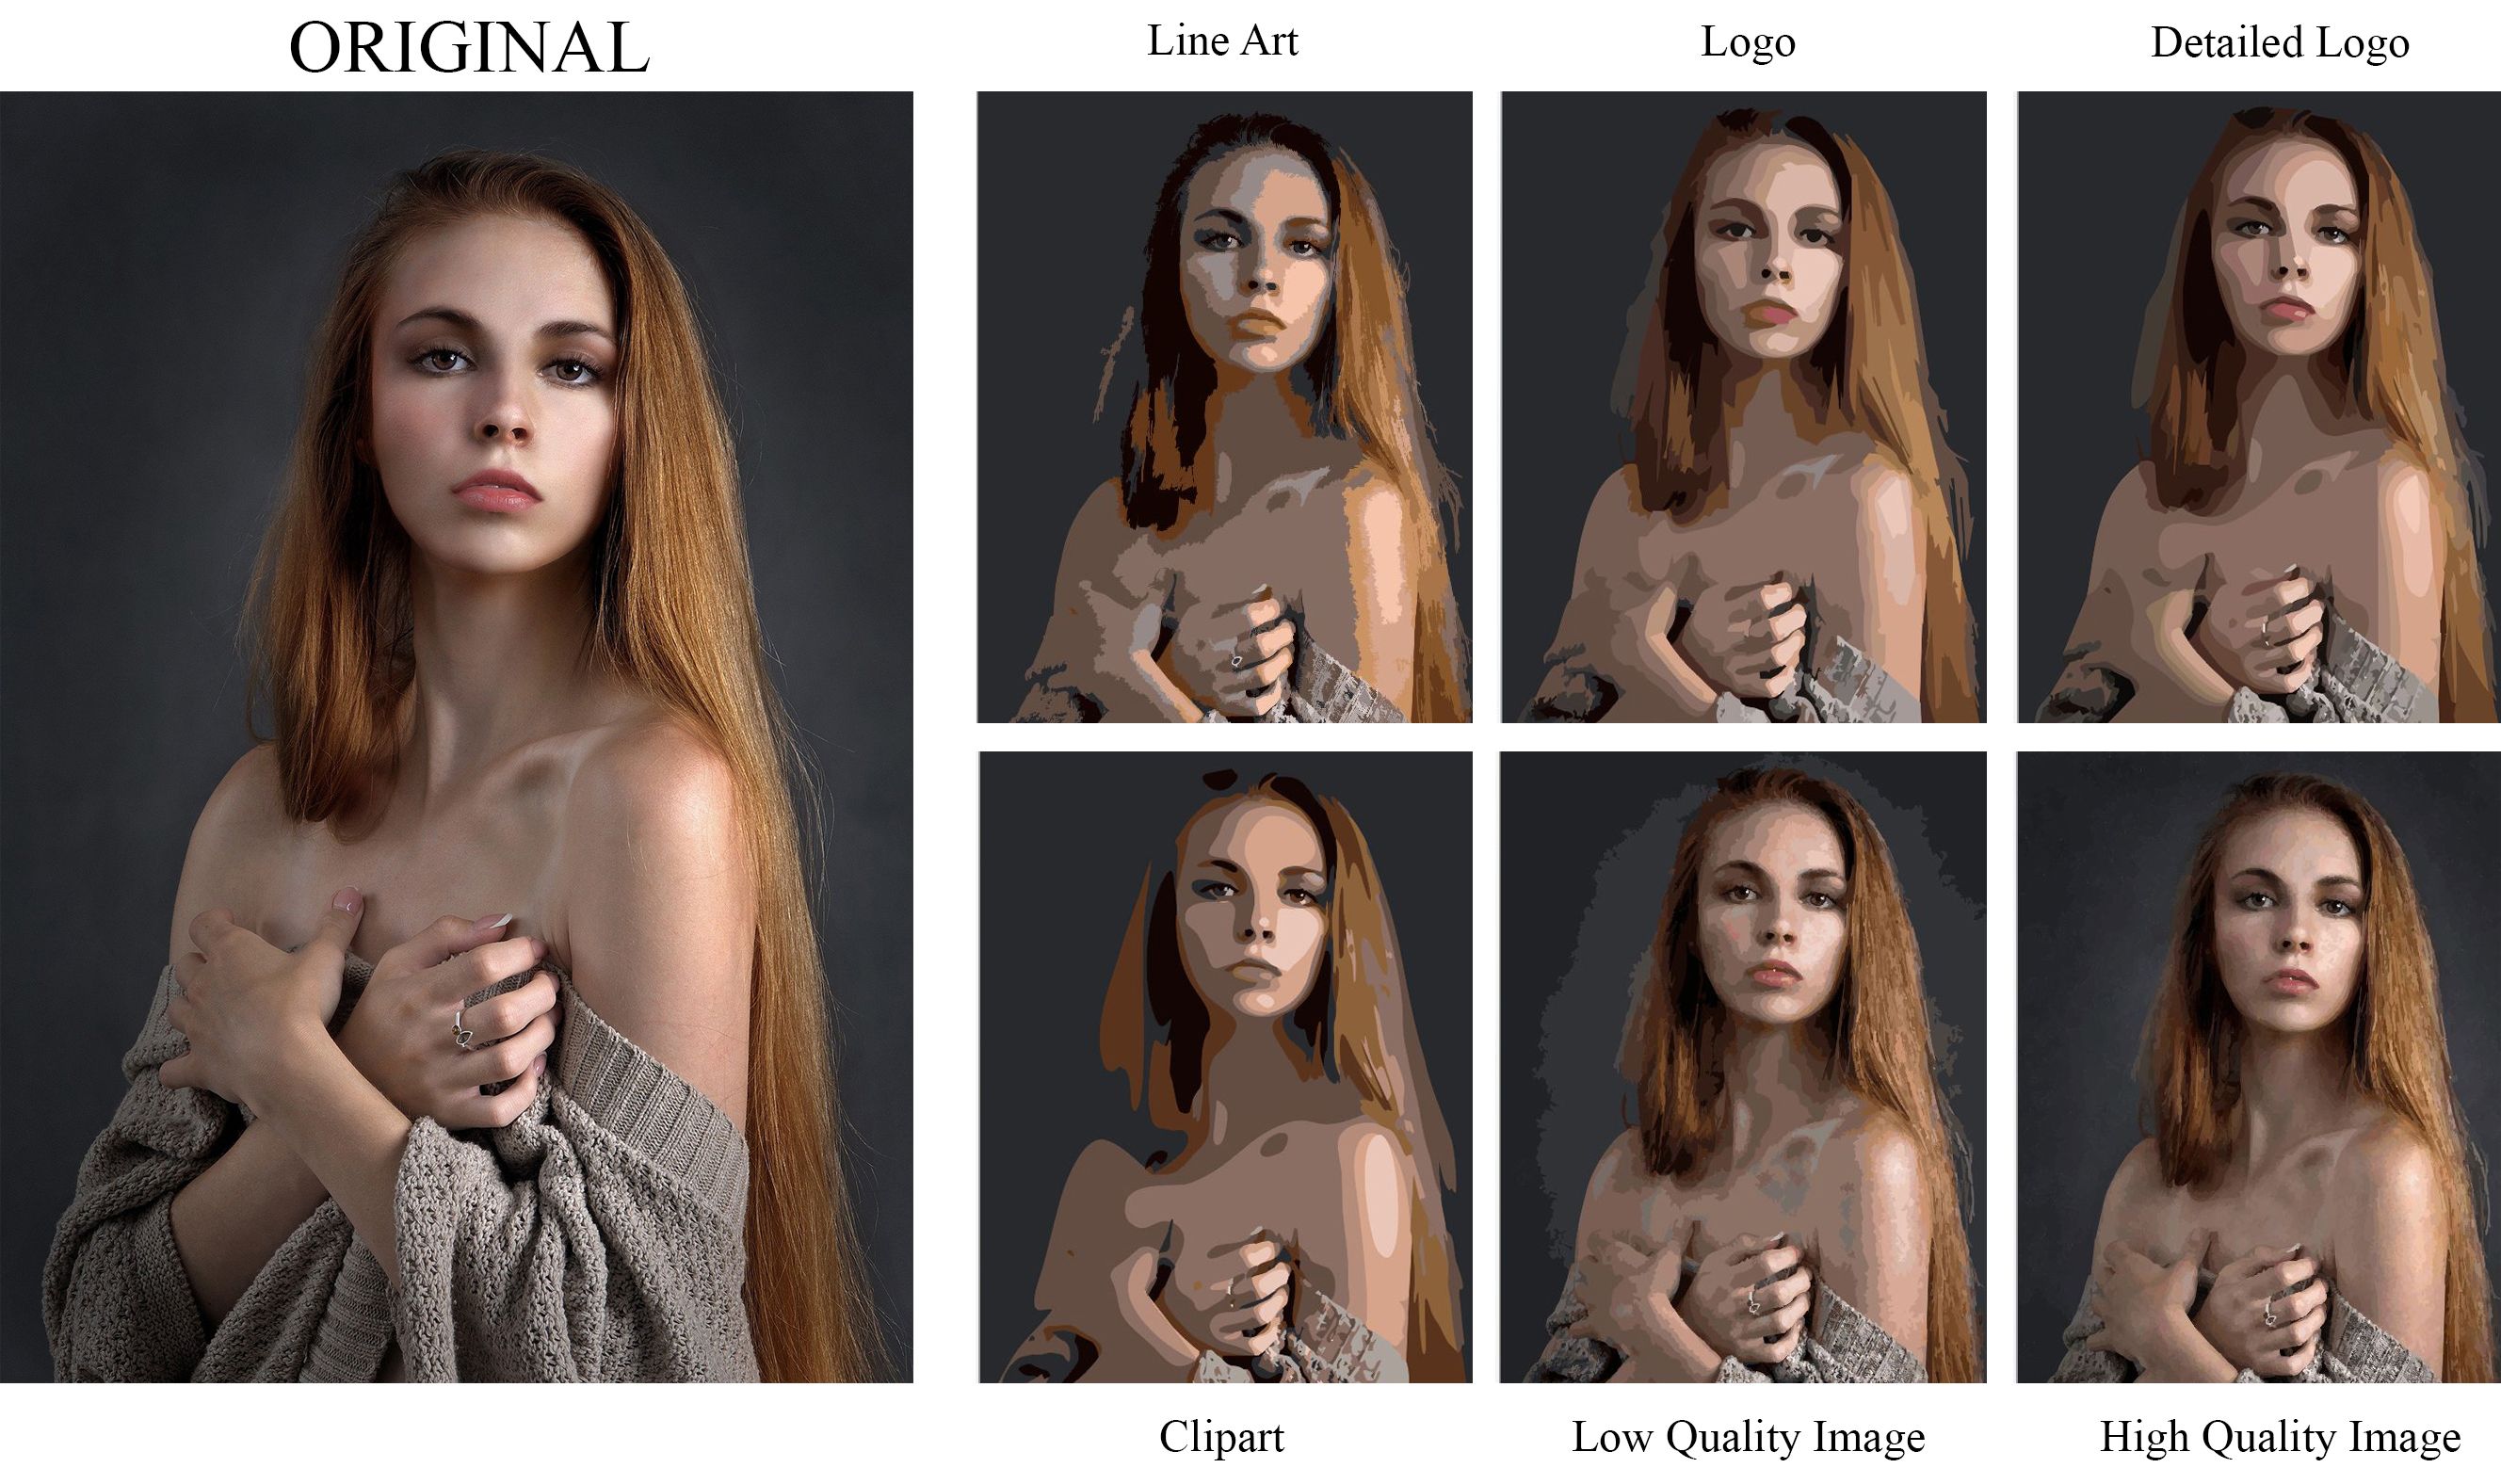
- Line Art: The Line Art pick works best when you already take a clear image without as well many pixels. This mode, you will get a unproblematic and clean outline trace. It works all-time when y'all are tracing black-and-white illustrations and sketches.
- Logo: As the name suggests, the Logo option will trace simple logos that do not accept many details and colors.
- Detailed Logo: If y'all take a more than circuitous logo with gradient shading and more than details, this option works great.
- Clipart: This option allows you to trace fix-to-employ graphics.
- Depression-Quality Image: This trace option is perfect in case you want to trace a photograph without many details.
- High-Quality Prototype: If you lot want to trace a photograph and keep all its details, the High-Quality Paradigm trace option works wonders. Depending on the quality of the image you import, as well as the overall details you cull, the results will vary.
How to Create a Vector Drawing From Scratch
CorelDRAW allows y'all to brand your own vector drawing or outline an existing one from scratch. On the left side of the screen, you accept a couple of options that let you to draw with vectors.
Let's go over each of these options.
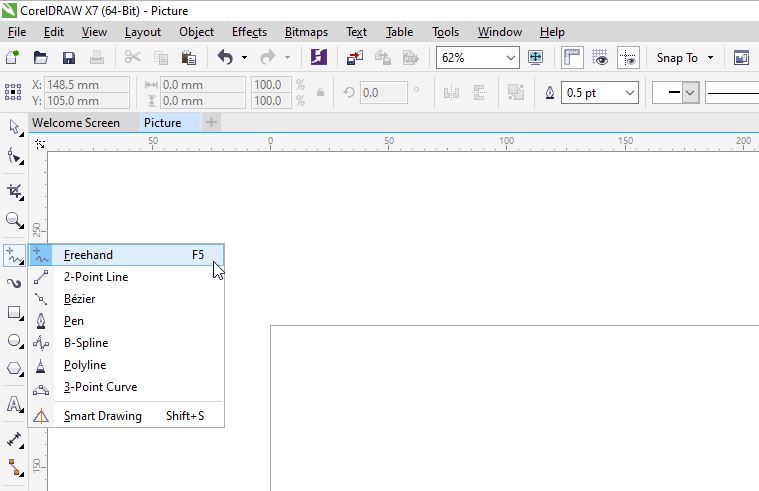
Freehand
The Freehand selection is i of the well-nigh pop curve tools in CorelDRAW. It allows yous to freely draw, as information technology turns your lines into vectors that y'all tin can subsequently edit.
When you draw a shape, simply click on the line with the Shape Tool, and you will be able to edit the vectors.
2-Point Line
The 2-Point Line tool allows you to draw direct lines that are tangent or perpendicular to objects.
Bezier and Pen Tools
With these two options, you can draw i segment at a time. You will get precise command of the shape and curve of each segment every bit you identify the nodes.
The Pen tool will as well requite you the ability to preview the line segment while you draw.
Polyline
The Polyline tool is an easier selection if yous exercise not take a drawing pad but still prefer to use the Freehand tool. It allows you lot to draw complex lines that you can edit afterwards. As y'all describe, yous get to see the preview of your drawing.
3-Point Curve
This tool allows y'all to make the perfect curved line that you can alter. You go to specify the width and acme as you depict. The iii-Point Curve is frequently used to quickly create arc shapes without having to deal with nodes.
B-Spline
When you select the B-Spline tool, you lot tin can draw curved lines by setting the control points of your bend, all without having to suspension them into segments.
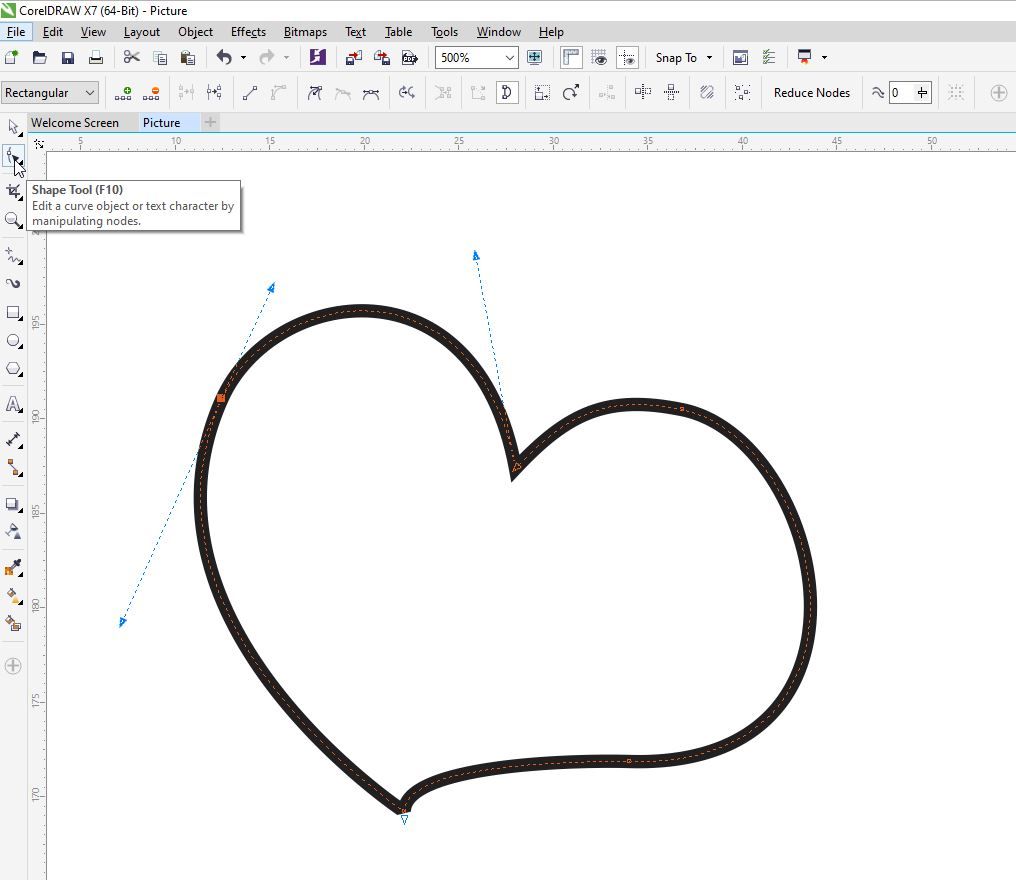
Tracing a Motion-picture show in CorelDRAW by Mitt
If y'all want to easily trace a picture, you can use any of the same tools. But if yous want manually trace a film in CorelDRAW, you can utilize the Freehand tool.
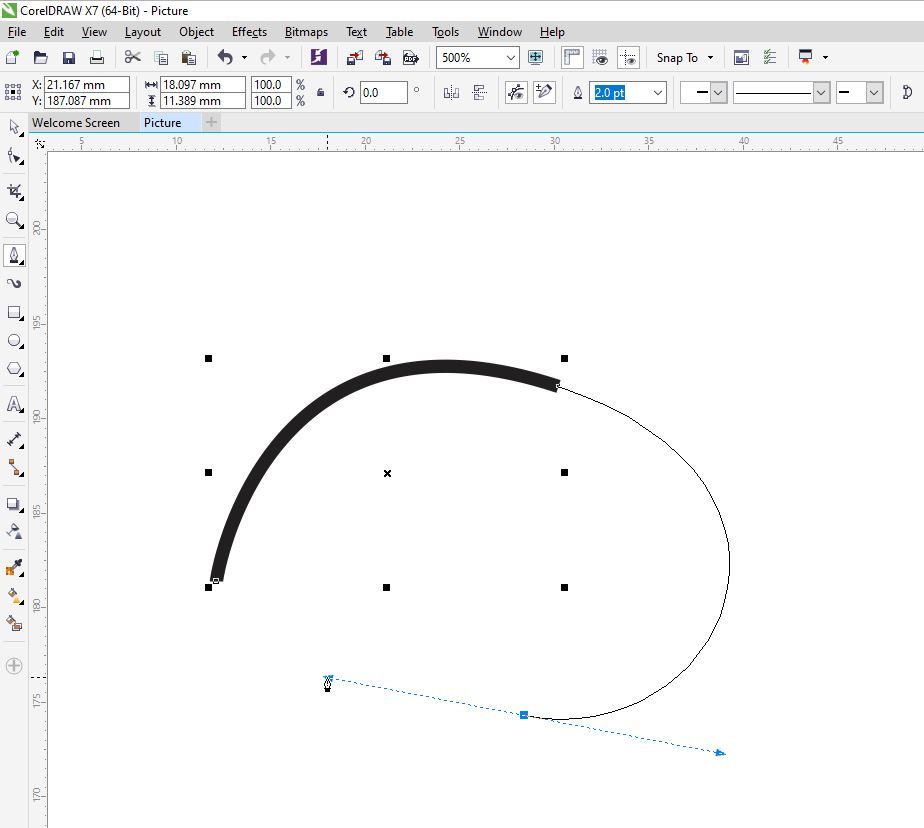
To exercise this, commencement by but creating the nodes. You can do this by clicking wherever y'all desire to place it.
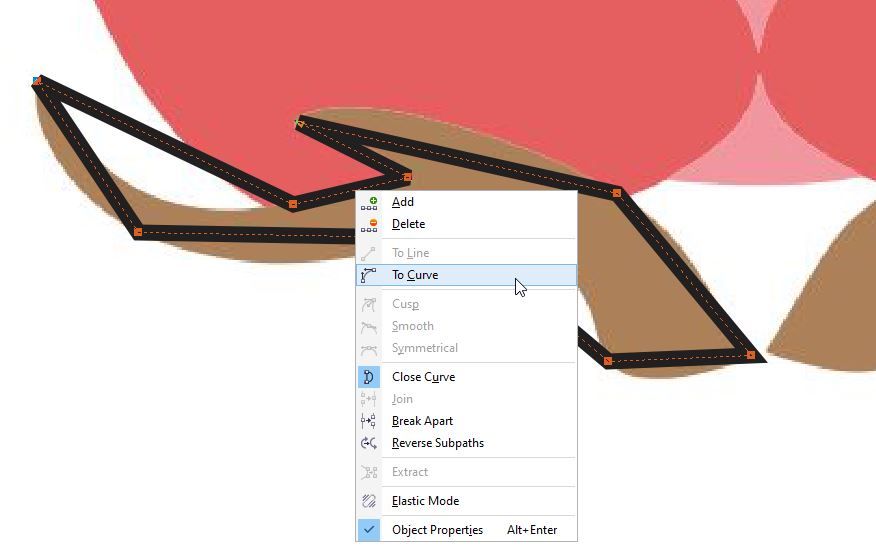
Then, click on the Shape tool, and select all the nodes that you created.
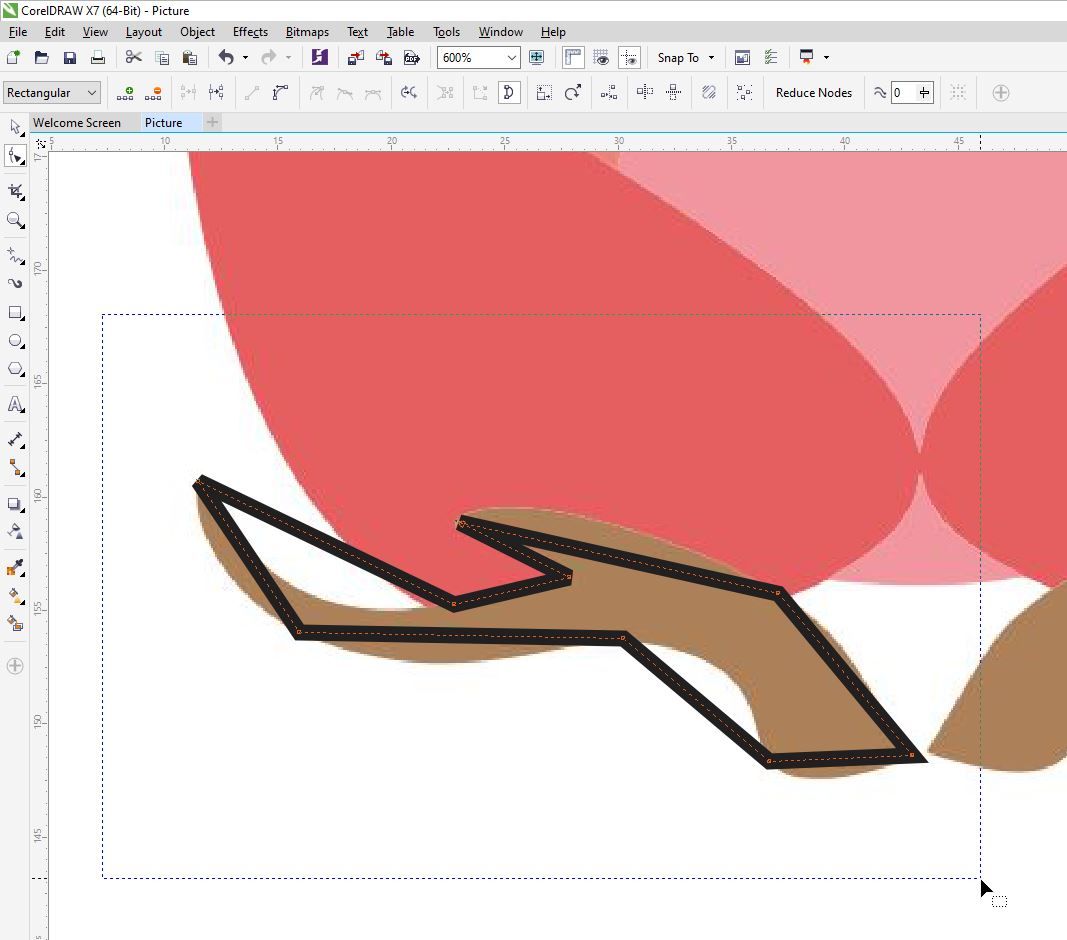
One time you select all the nodes, correct-click anywhere on the line, and select To Curve. This will allow you to manually curve every single line.
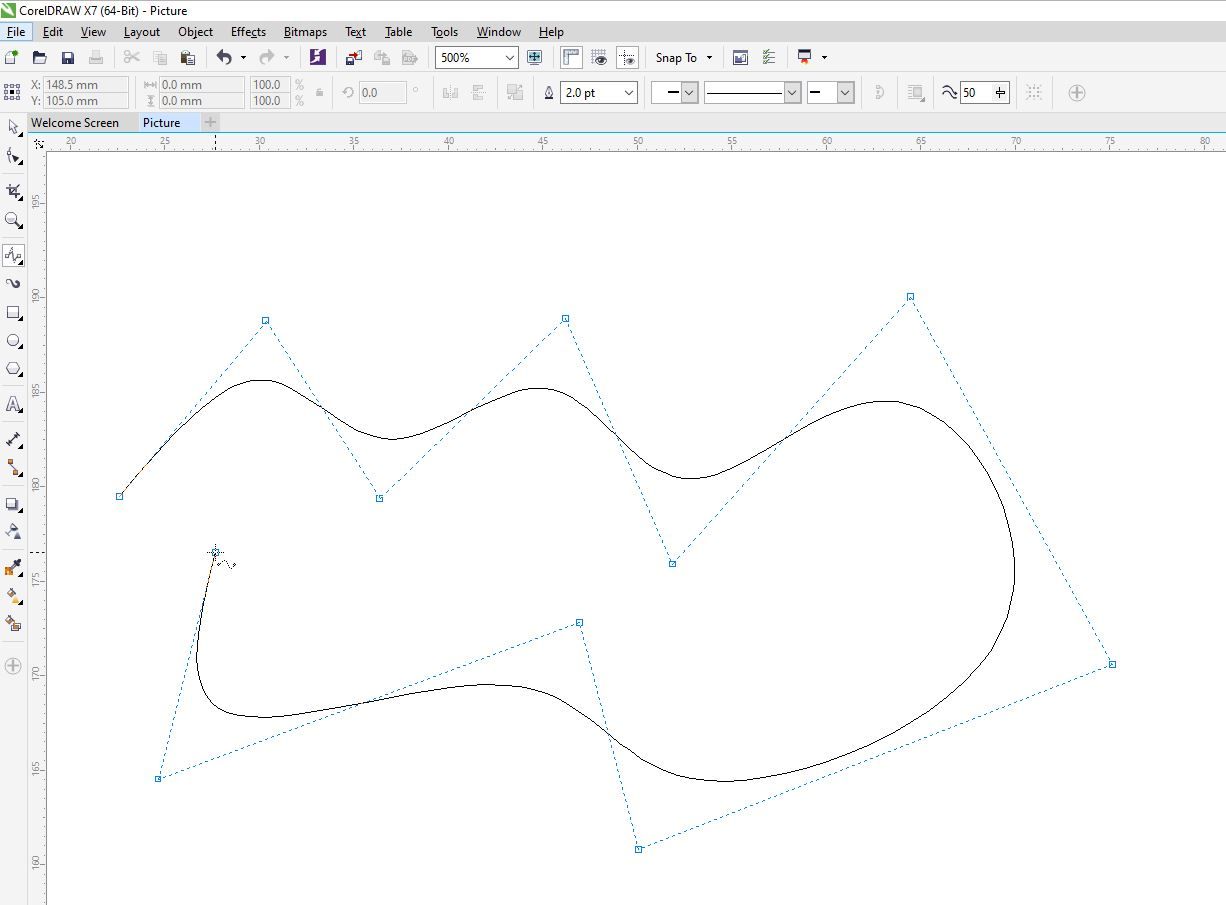
You tin curve the lines by clicking on the line and moving it, or by clicking on the nodes and using the arrows.
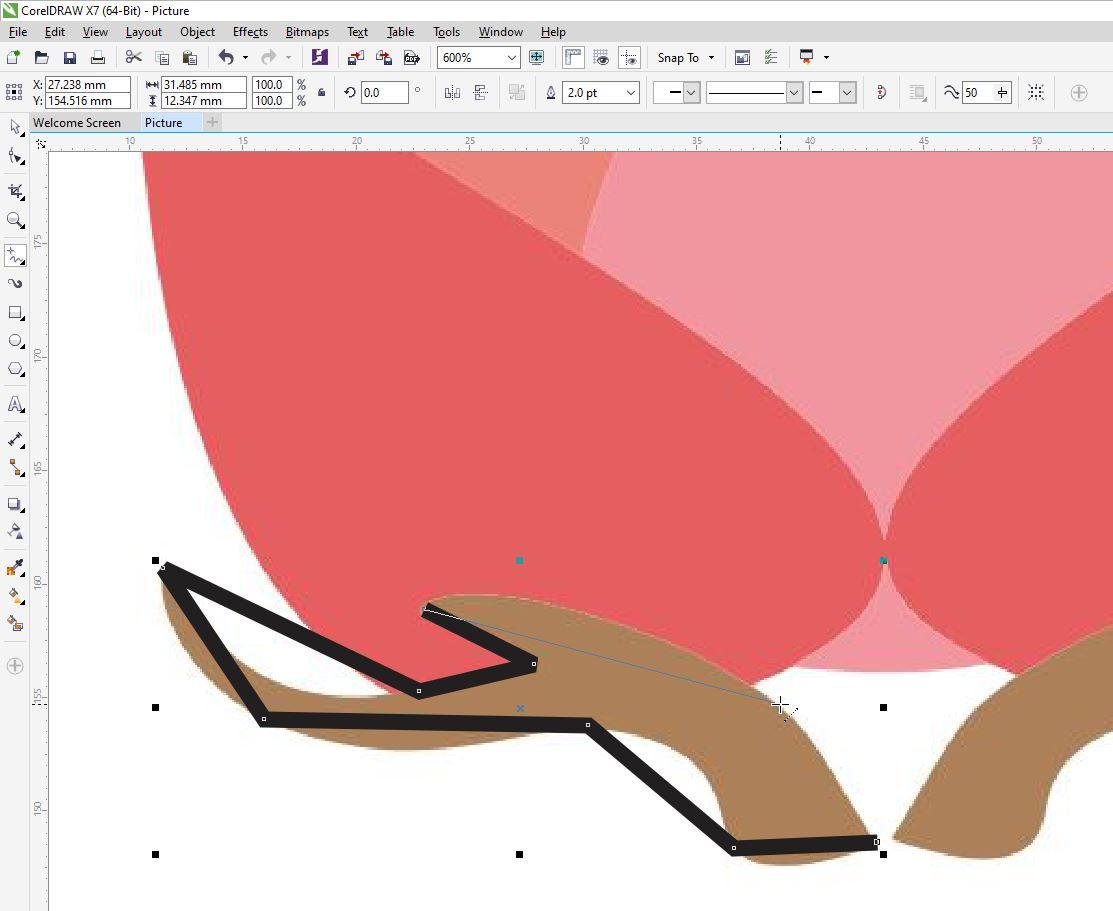
Once you lot're finished, y'all demand to make sure that you close the shape you drew. In CorelDRAW, you tin can colour only the shapes that you close. There is a color palette on the right side of the screen. To color your airtight shape, select the shape yous want to color and click on i of the colors.
Left-clicking the colour will colour the within of the shape. Right-clicking the color volition outline the shape with the selected colour.

Trace Your Prototype or Start From Scratch
Equally you lot can see, CorelDRAW has plenty of options for you to vectorize an paradigm. You can even draw a vector image from scratch!
The vector options in CorelDRAW work in a similar manner as they exercise in Adobe Illustrator. The main departure between the two is that CorelDRAW is a better option for graphic designers and hobbyists who are working in niche fields, while Adobe Illustrator is perfect for graphic design professionals who want to create a myriad of vector graphics.
Nearly The Author 

Source: https://www.makeuseof.com/how-to-vectorize-image-coreldraw/
Posted by: ellisardeculd.blogspot.com
0 Response to "How Do You Convert A Drawing From Corel Draw To G-code"
Post a Comment